
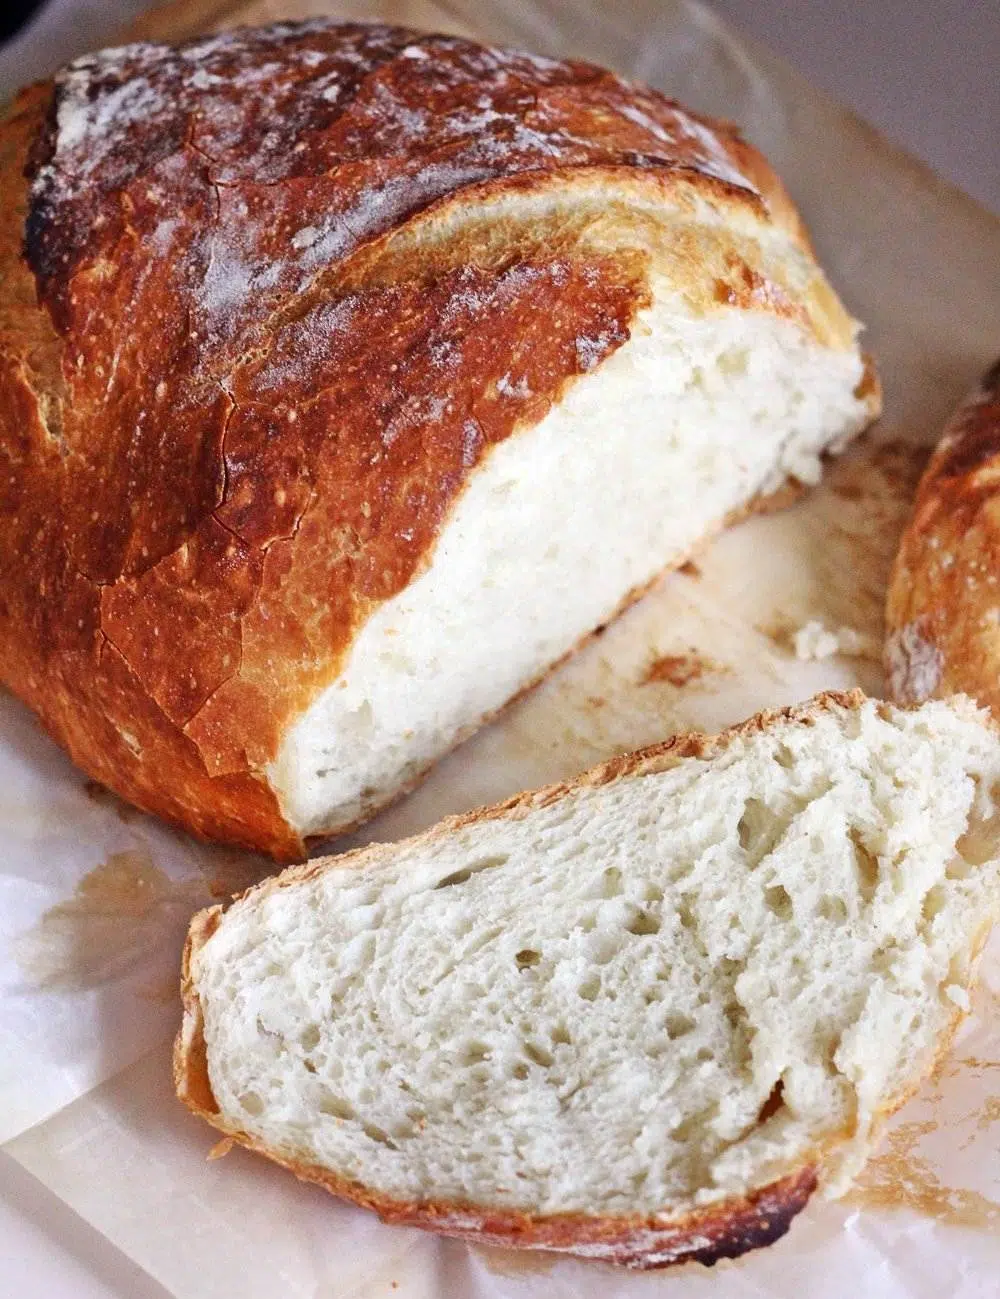
Sharp White Cheddar No Knead Bread Recipe
No knead bread is taken to the next level when paired with sharp cheese in this Sharp White Cheddar No Knead Bread Recipe. Bake up a golden brown loaf and serve with butter.

This recipe for Sharp White Cheddar No Knead Bread is so simple to make and tastes amazing. I’ve made a few no knead breads on the blog before. I have my go to No Knead Artisan Bread, a Chocolate and Orange No Knead Bread and even a No Knead Pizza Bread. The blog was due for an addition and this is a truly delicious addition indeed.

The crust has a really great cheddar flavor to it, so swipe those end pieces. add a bit of butter and enjoy them all to yourself.
Recommended Bread Recipes


Note: While the directions look long, this recipe is super simple, I swear. I wrote the directions in depth since people tend to have a lot of questions about no knead breads.

Sharp White Cheddar No Knead Bread Recipe
Equipment
- Dutch Oven Pot with Lid
Ingredients
- 3 cups all-purpose flour or bread flour or a mix of the two
- ¼ teaspoon instant yeast or 1/3 teaspoon active dry yeast
- 1 teaspoon salt
- 1 ½ cups shredded extra sharp white cheddar
- 1 ½ cups lukewarm water
Instructions
- In a large mixing bowl, combine the flour, yeast and salt. Whisk to combine. Add the shredded cheese and mix gently until the cheese is coated with flour.
- Add the lukewarm water to the flour mixture and stir well. The mixture will be a bit shaggy and sticky, that’s normal. Cover the mixing bowl with saran wrap and let it sit out at room temperature for 8 to 12 hours.
- On a clean counter surface, sprinkle the counter with flour and turn the dough out onto the counter. Fold the dough over on itself a few times, sprinkling the dough as needed with a little flour to it doesn’t stick to the counter. Tear off a piece of parchment paper that is larger than your Dutch Oven. Place the ball of dough in the middle of the piece of parchment paper. Cover the dough with a piece of saran wrap and let sit for 1 hour.
- After 40 minutes have past, turn on your oven and preheat it to 450f. Place your dutch oven with the lid on in the oven to warm up. Keep it in there for 20 minutes.
- After the dough has rested an hour and your Dutch Oven is heated through, very carefully remove the pot from your oven (remember to use your hot pads for the lid!). Set the lid aside. Carefully pick up the parchment paper with the dough on it and set it inside the pot. The bread will bake right on top of the parchment paper and nothing will stick to the pan. The edges of the parchment will turn a light brown while baking, this is normal.
- Bake for 30 minutes with the lid ON. Remove the lid and bake for another 15 minutes. Remove the pot from the oven, remove the bread by grasping the parchment paper on both sides and lifting out of the pan. Let it cool for 20 minutes before slicing.
- Store tightly covered in a cool, dry area for up to 3-4 days.
Nutrition
Recipe from the retired food blog Cinnamon Spice & Everything Nice.
Oh my goodness this looks amazing. My husband loves sharp white cheddar, he's going to love this!
Thanks, I hope you guys enjoy it 🙂
Awesome!
Thanks lots & lots for making it and all the kind words Ali! Your pictures are gorgeous!! Oh that wonderful crust I want to eat it right up.
Thanks for coming by Reeni 🙂