
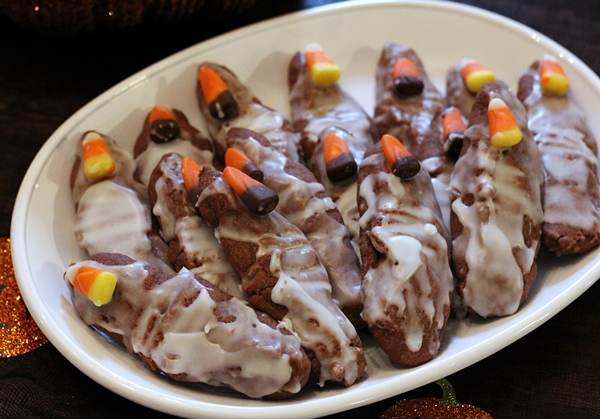
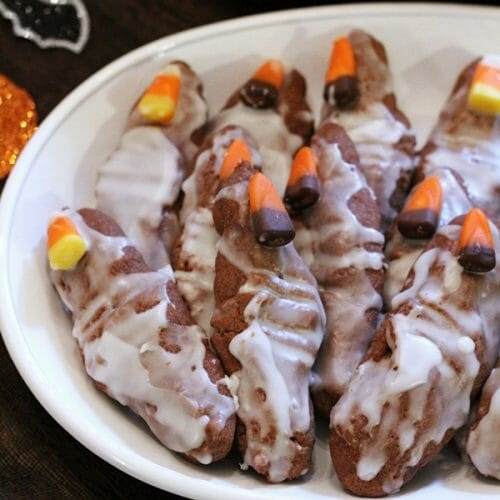
Chocolate Frankenstein Fingers
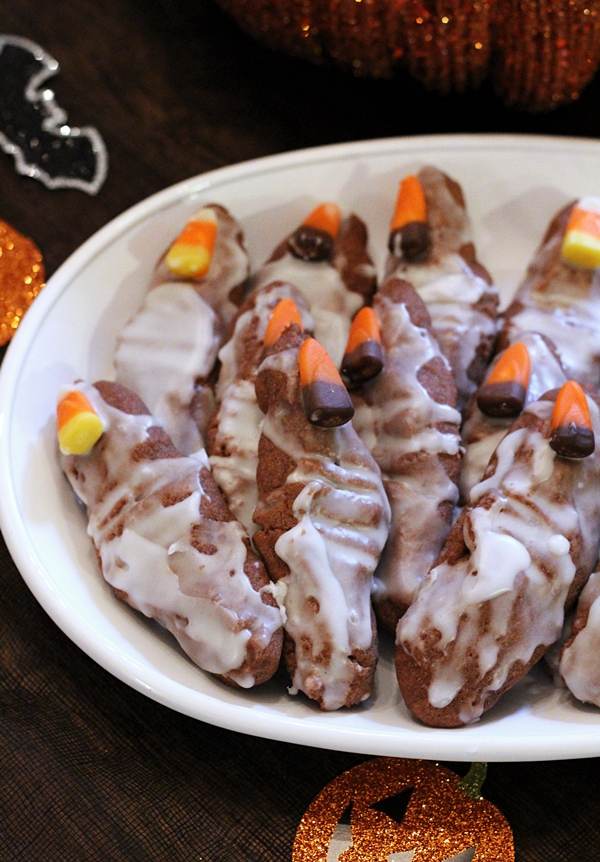
For our latest Halloween get together I made these Frankenstein Fingers, which are chocolate cookies that are baked, topped with a candy corn “nail,” then drizzled with a powdered sugar glaze to emphasize the wrinkles on the fingers.
Chocolate and spooky! Enjoy!
Notes: I found this dough to be pretty dry, which I imagine is intentional because you don’t want it to spread too much while baking. If there are a few cracks in the dough once shaped, don’t worry about it, it just looks intentional and makes the fingers look more creepy. I did forget to press the candy corn into the freshly baked cookies, so if you happen to do the same, simple glaze the cookies and gently place the candy corn on top. The glaze will secure it just fine.
Chocolate Frankenstein Fingers
Spooky and delicious, Chocolate Frankenstein Fingers are the perfect baked treat for a Halloween party. Candy corn 'fingernails' top them off.
Equipment
- 1 parchment lined baking sheet
Ingredients
For cookies:
- ¾ cup butter softened
- ¾ cup firmly packed brown sugar
- 3 1-ounce squares semi-sweet baking chocolate, melted
- 2 cups all-purpose flour
- Candy corn
For glaze:
- 1 cup powdered sugar
- 2 tablespoons water
Instructions
- Heat oven to 350°F.
- Combine butter and brown sugar in bowl. Beat at medium speed, scraping bowl often, until creamy. Add chocolate; continue beating until well mixed. Add flour; beat at low speed until well mixed.
- Knead dough with hands until dough sticks together.
- Shape rounded teaspoonfuls of dough into 3-inch long bumpy “finger” shapes. (You will need to squeeze and pinch dough together to form fingers). Form rounded point for fingernail on one end.
- Place 2 inches apart onto parchment lined cookie sheets. Make knuckle marks in dough using toothpick, if desired. Bake 10-12 minutes or until set. Remove from oven; immediately press 1 candy corn onto pointed end. Cool 5 minutes on cookie sheets. If the candy corn doesn't adhere to the cookie, simple add it right after glazing the cookies and they will stick.
- Place cooling racks over waxed paper. Carefully move cookies from cookie sheets onto cooling racks. Cool completely.
- Combine all glaze ingredients in bowl until well mixed. Lightly brush cooled cookies with glaze.
Notes
Recipe from Land O Lakes.
Nutrition
Serving: 1cookieCalories: 90kcalCarbohydrates: 13gProtein: 1gFat: 4gSaturated Fat: 2gPolyunsaturated Fat: 0.2gMonounsaturated Fat: 1gTrans Fat: 0.2gCholesterol: 10mgSodium: 32mgPotassium: 15mgFiber: 0.2gSugar: 8gVitamin A: 118IUCalcium: 6mgIron: 0.4mg
Loved this recipe?Please consider leaving a 5 star rating and share your feedback in a comment below. Thank you!
What a fun and spoooooooooky treat!